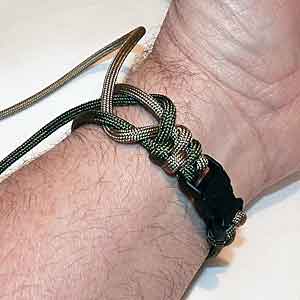
Paracord Bracelet: Measure Your Wrist Size
One of the most confusing parts of making a Paracord Bracelet is measuring your wrist size to get the correct length for the Bracelet.
You definitely want to know how to measure correctly so that you don’t have to UNBRAID your Bracelet and REBRAID it, again.
Here are the instructions for measuring wrist size to make Paracord Bracelets:
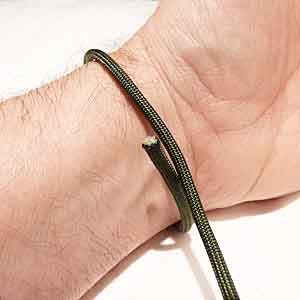
1 – Measure your wrist size
– Cloth tape measure wrapped around your wrist
– Piece of paper wrapped around your wrist and then measure the paper
– Piece of paracord wrapped around your wrist and then measure the Paracord
2 – Take the measurement from Step 1 and add 1 inch
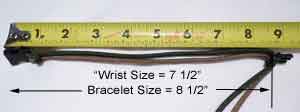
– In this example, we’ll use a wrist size of 7 1/2 inches, which is about the size of an average-sized male.
3 – Add 1″ to the wrist measurement you got in Step 1
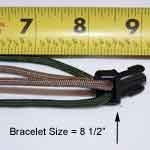
– in this example, the WRIST size is 7 1/2″ so the BRACELET size will be 8 1/2″
– the inch that you are adding will adjust the bracelet length to compensate for the additional length of the buckle and the width of the Paracord
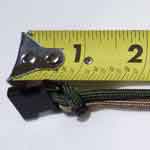
4 – Measure the BRACELET Length (8 1/2″ in this example) from the END of the FEMALE part of the buckle … to the HORIZONTAL CROSSPIECE of the MALE end of the buckle.
5 – Make 2-3 braids of your choice of Bracelets, so that the braided Paracord won’t unravel by itself, and wrap the bracelet around your wrist to check for the correct size.
– You should be able to comfortably, but “snugly” fit one finger between the bracelet and your wrist, and the length of the bracelet is correct.
– If the bracelet is too loose, or too tight at this point, unravel 2 or 3 braids, adjust the length of the bracelet to make it correct, braid 2 or 3 braids, and check the length, again.
– When the length of the Bracelet is correct, continue braiding the remainder of the Bracelet.
6 – Always Have FUN!!

